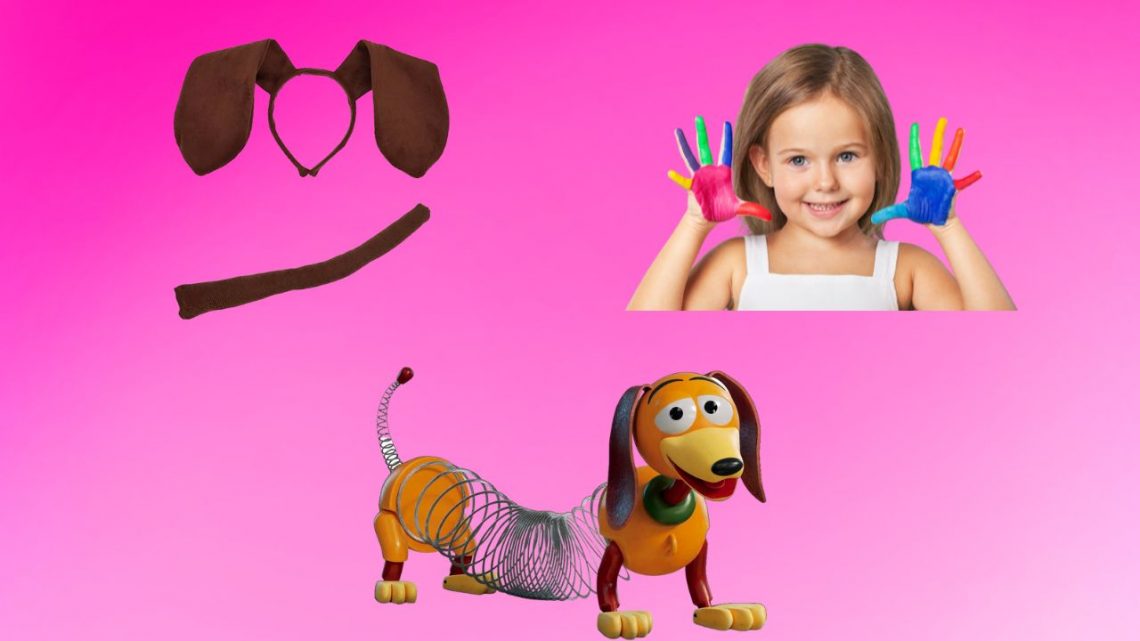
You might have seen the viral videos of toddlers wearing slinky dog costumes, which brought you here. Or you might be a Toy Story fan looking for awesome Toy Story-themed costumes.
You can now ease your worries as we are going to tell you how to make a DIY slinky dog costume. The slinky dog costume is a perfect costume that kids will surely love. If your kids love Toy Story and unique costumes, this is the best option!
Given that it is designed for two kids, this homemade costume is particularly well-liked among twins. There are some viral videos online where adorable twins are wearing this cute costume. The costume can be also worn by relatives, brothers, twins, and even close pals.
Although you may make this costume for kids and adults of any age, it works best for kids because of the size of the actual slinky.
Just keep in mind that you will require more of the things listed below for larger youngsters or adults.
Materials

The supplies required for this costume project are listed below:
- 2 pairs of brown pajamas for both ends of the slinky dog to cover the arms and legs.
- 1-yard grey fabric
- 7″ diameter slinky
- Light brown felt fabric. The amount needed depends on the size of the wearer.
- A sheet of bright green felt
- A sheet of dark brown felt
- 1 Pillow to create the smaller pillows used for stuffing.
- Velcro
- Craft Wire
- Lights (Optional)
- Hot glue gun
Slinky Dog Bodysuits
For the front/head and the back/tail of the slinky dog costume, respectively, we will be making two bodysuits.
Think for a second about who will wear the costume’s front and back positions. When moving on to the subsequent procedures, be careful to take any differences in measurements into consideration.
The two bodysuits will essentially be identical, but we will subsequently add some finishing touches to differentiate them.
From the shoulder to the mid-thigh, calculate each person’s height. Each person’s waist should be measured, and the measurements should be written down.
Create a pattern to use when cutting the suit. To avoid having to sew a shoulder seam, fold the felt in half and cut along the fold. We’ll begin by cutting out a rectangle. Your waist measurement divided by two, plus three inches should equal the width of the rectangle.
Cut out two curved armholes, one on each side, on the folded seam. On the folded seam, cut out a neck hole. Just use your best judgment; these don’t have to be flawless. We should now round the corners and curve the edges inward on the side opposite the fold.
We must make two leg openings on that same side. If the model has larger legs, you should cut the holes in an oval shape with a deeper curve.
To make a second suit with the other person’s dimensions, follow the same instructions. You will have the suit cut for the front/head and the back/tail after finishing these procedures.
Now, stitch the bodysuit’s edges together. Just be careful not to sew the holes for the arm, leg, or neck. The garment can be turned inside out after all the edges have been stitched. This will conceal the suit’s seams, giving it a neat appearance.
The final step is to make a 4-5 inch slit coming from the center of each suit’s neck hole. This makes it possible for the suit to open wide enough for kids to enter and exit easily. To enable each slit to seal once the kid is inside, attach velcro to the top.
Slinky Dog Collar
Use the green felt to fold over the bodysuit’s neckline to form the green collar on the front and head. About two inches below the actual hole, round the bottom of the, felt to fit the neck hole’s contour.
Cut the neck hole from the green felt by now. You should be left with a collar that is green and measures 2 inches in diameter. The collar and bodysuit can now be stitched together.
Slinky Dog’s Coil
For the outfit, remove roughly 12 loops or coils from the giant slinky. After that, we’ll wrap the slinky in tubes made of gray fabric.
Cut strips of grey fabric that are 3 inches by 44 inches to make the fabric tubes. While sewing along the seams of each fabric strip, fold the strips in half and secure the fold with pins. The strips should be turned inside out using a wooden dowel. The stitched seam will then be on the inside of the fabric tubes as a result.
Start advancing the tubes over the slinky coil. Simply fold a small portion of the fabric over and use hot glue to seal the seams on the two ends of the slinky.
Additionally, we discovered that once the fabric tubes are in place, hot gluing the sides of each one to the slinky is useful. As a result, the tubes can’t move around and reveal the rainbow slinky.
Slinky Dog’s Hat
The front bodysuit’s head size should be determined by measuring the circumference of the head. Create a dome shape on your light brown or tan felt by dividing that number by two. That measurement of the head circumference divided by two should serve as the dome’s base. The dome’s height should be around 6 inches.
To cut out both sides of the hat at once, ensure you have another piece of brown felt below. Cut both felt pieces through the dome line by approximately 12 inches. The two parts will then be stitched together along the line. Now that the stitched seam is inside the hat, you may turn it inside out.
For the ears, cut two teardrop-shaped pieces of dark brown felt. The ears should, in our opinion, be about 6 inches long. Now make a slit in each of the hat’s upper corners. Simply make the slit large enough to accommodate an ear tab, then hot glue it in place.
Slinky Dog’s Tail
Cut a piece of craft wire that is about 18 inches long. Take the fabric tube you had left over after covering the slinky and place it over the wire. To keep it in place, fold over and hot glue the fabric tubes’ ends.
Cut two tiny tear-shaped strips of the dark brown felt, then sandwich the wire with the two pieces using glue on one end.
Next, make two circles from the light-brown/tan felt. Make a slit in one of the circles so the wire can enter and exit via the center. Sandwich the wire between the two circles and glue them together, making sure that the wire emerges from the top circle’s center via the slit.
The tail can be wound into a shape resembling a spring. The final step is to attach a piece of Velcro to the circle’s base. In doing so, the tail will be able to fasten to the bodysuit.
Putting the Slinky and Bodysuits Together
Before we put the slinky dog costume together, there is one more step to complete. We need to make a small slit on the front top middle of the back/tail bodysuit. When connecting the suits together, we may insert the slinky dog coil into this slit. You should use a small piece of felt to reinforce this slit, in my opinion. Simply put, this will stop that slit from tearing.
Get everyone in their bodysuits via the top neck opening and slit as the initial step. The stuffing can then be added; for the front and back of each child, we used a little pillow.
Once you have at least one full coil inside the bodysuit, start with the back/tail bodysuit and slowly slide the slinky coils in, twisting them into the bodysuit.
The neck slit on the rear of the front/head bodysuit should be filled with a few coils before the velcro is closed to keep it in place. If you start with the back and only set the front in, the slinky coil won’t twist.
LED lights can be added for a great costume at night! In the costume we made, we used two light strings. We placed one battery pack inside each bodysuit to power up the lights.
Crafters and parents will surely love making this awesome slinky dog costume. Doing a DIY costume for the kids is a fun experience and it is even more exciting to involve the kids while doing it. For sure, your kids will love this project and they’ll be so thrilled to wear and parade their slinky dog costume!